
Introduction #
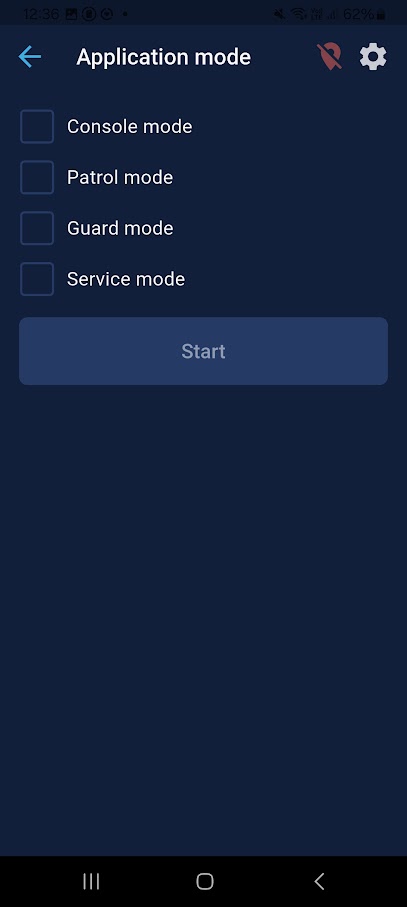
The Patrol3 mobile application is a solution designed for the security industry, streamlining the daily work of mobile response teams and security guards. By automating key processes, the application reduces task completion time, improves operational efficiency, and relieves the workload of monitoring station operators. The application supports four operating modes: Console, Patrol, Guard, and Service. Additionally, it provides access to selected features in Guest Mode, allowing users to use certain functionalities without logging in.
Installation and Activation of the Application #
Installation #
The Patrol3 application is available for download on devices running Android and iOS.
Activation #
Application Activation #
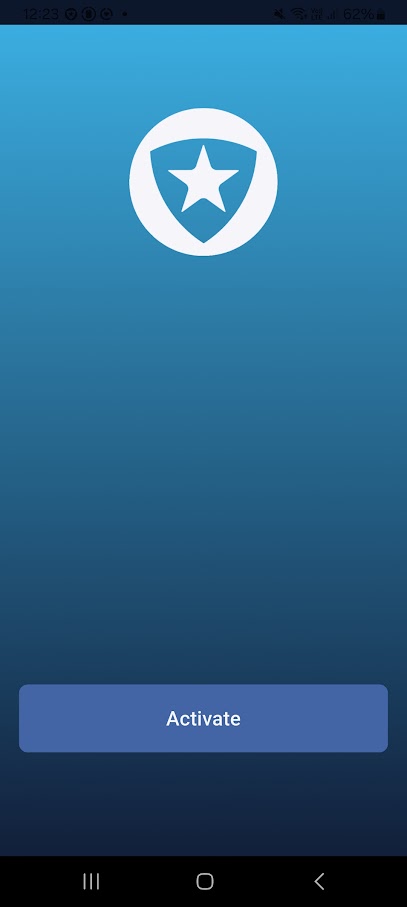
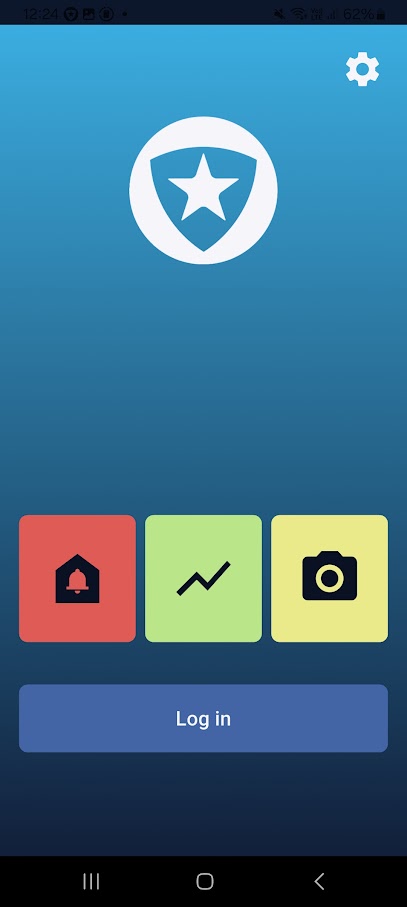
After installing the Patrol3 application on a mobile device and launching it, an activation screen will appear
NOTE! When launching the application for the first time, you may be prompted to grant access to location, camera, and other device features. To ensure that the application functions properly, select “Allow” for all requested permissions.
“Activate Account” button – photo 1
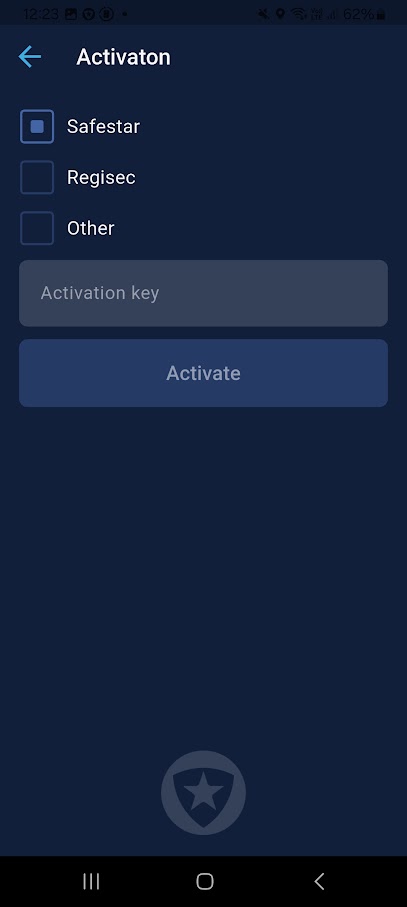
Generating and entering the activation key from Safestar – photo 2
Application view after successful activation – photo 3
Generating the pairing key for connecting Patrol3 with Safestar #
To generate the key, open the Safestar application and log in to the system. [link]
Then go to ACCOUNT-> DEVICES -> MOBILE DEVICES [link] and click “Add New Mobile Device”
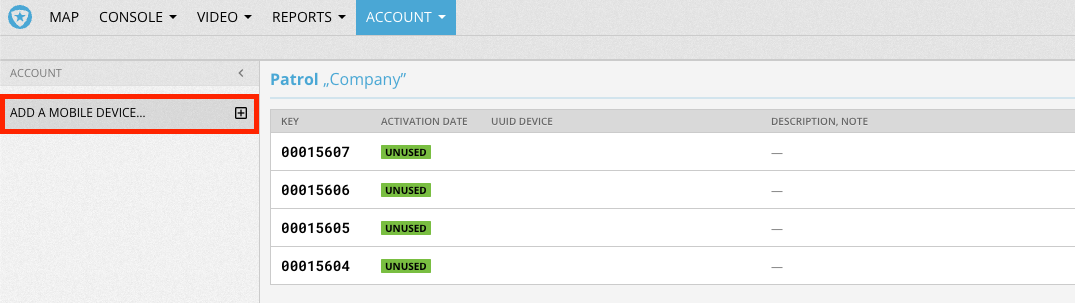
Then enter the generated key into the Patrol3 application (the key is valid for only 10 minutes). It is also recommended to add a note specifying which device has been added to help maintain organization and make future searches easier.
After successful activation, the Safestar device list will display the activated device details next to the “Key” number, along with a device number automatically generated by the system. This device can then be assigned, for example, to a specific site

Safestar configuration required for operation with the logged-in Patrol3 application #
User settings Safestar #
For a Safestar user to successfully log in to the mobile application, the account must meet the following requirements:
User profile #
- The user’s details must be completed in Safestar (first name, last name, login or email address)
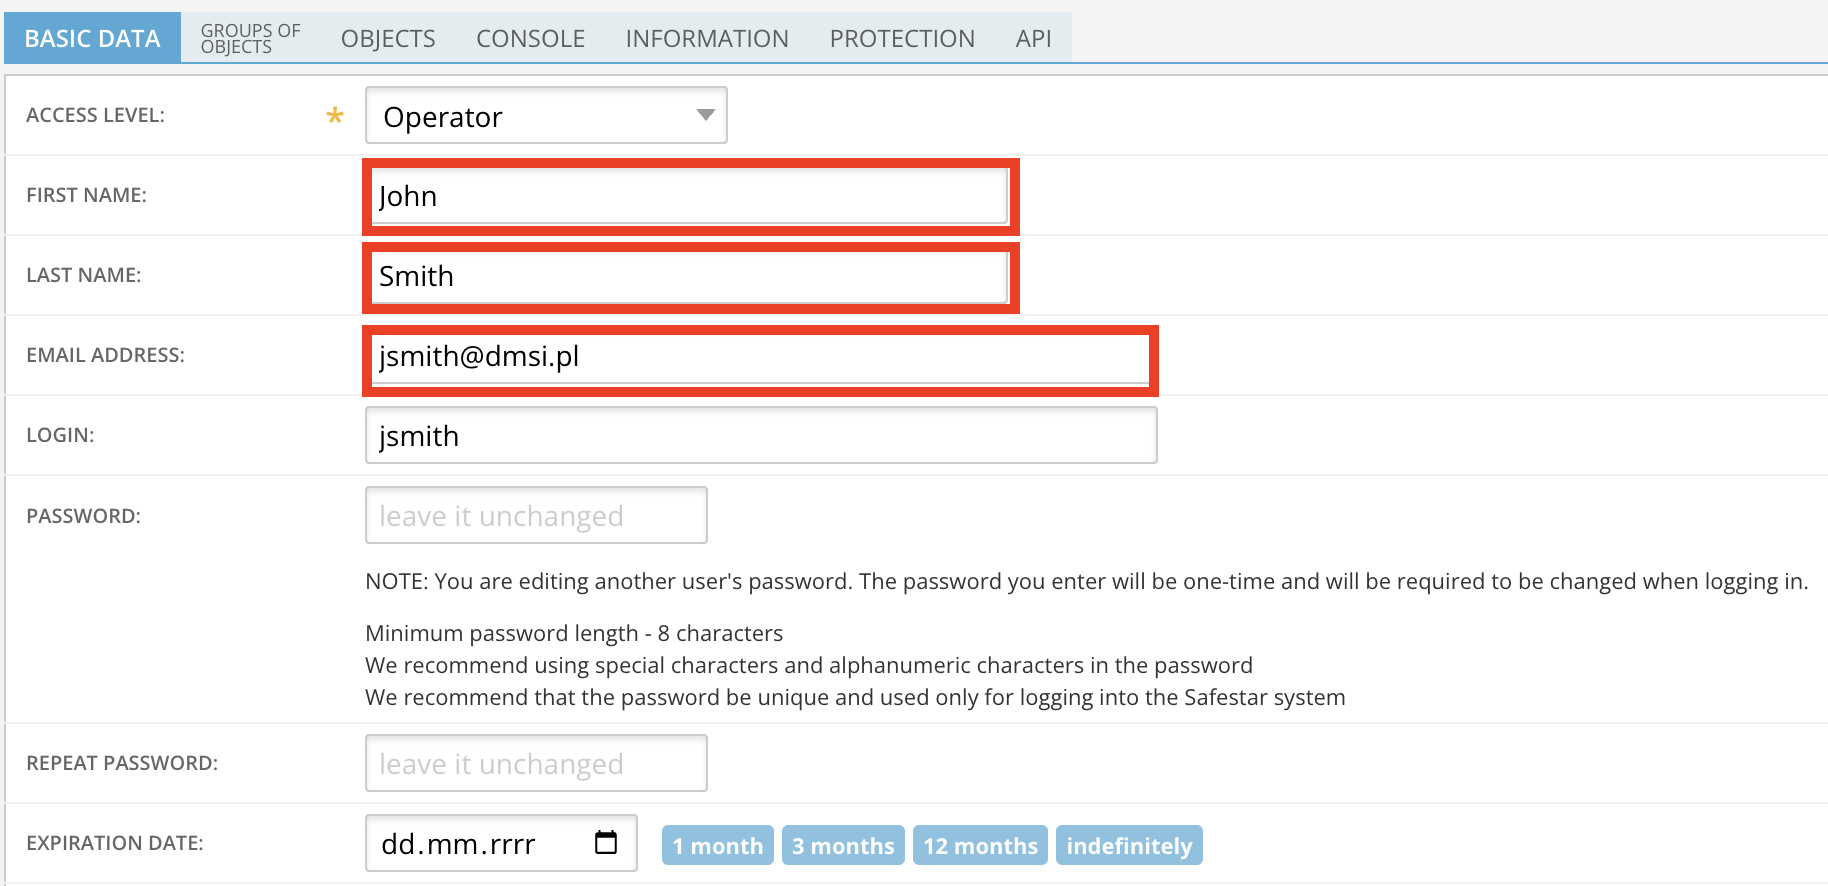
NOTE! Safestar system does not require first name and last name fields to be completed when creating a user, the Patrol3 application will not function properly without this information being provided.
- Assigning the user to an object or a group of objects to which they should have access in the selected operating mode
- Operating Mode (Console) to display alarms in the application
- Operating Mode (Patrol) to allow the group to receive intervention requests
- Operating Mode (Guard) to allow security personnel to perform procedures and patrol routes
- Operating Mode (Service) to allow the employee to suspend them
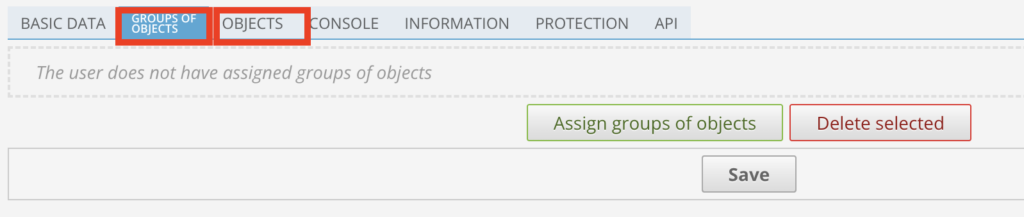
To verify that the selected user’s profile meets the requirements described in points 1 and 2, go to: ACCOUNT → USERS → USERS [link] -> view the selected user’s configuration by clicking the pencil icon (on the right side of the screen).

User permissions #
The user has permissions that allow them to log in to the selected application modes.
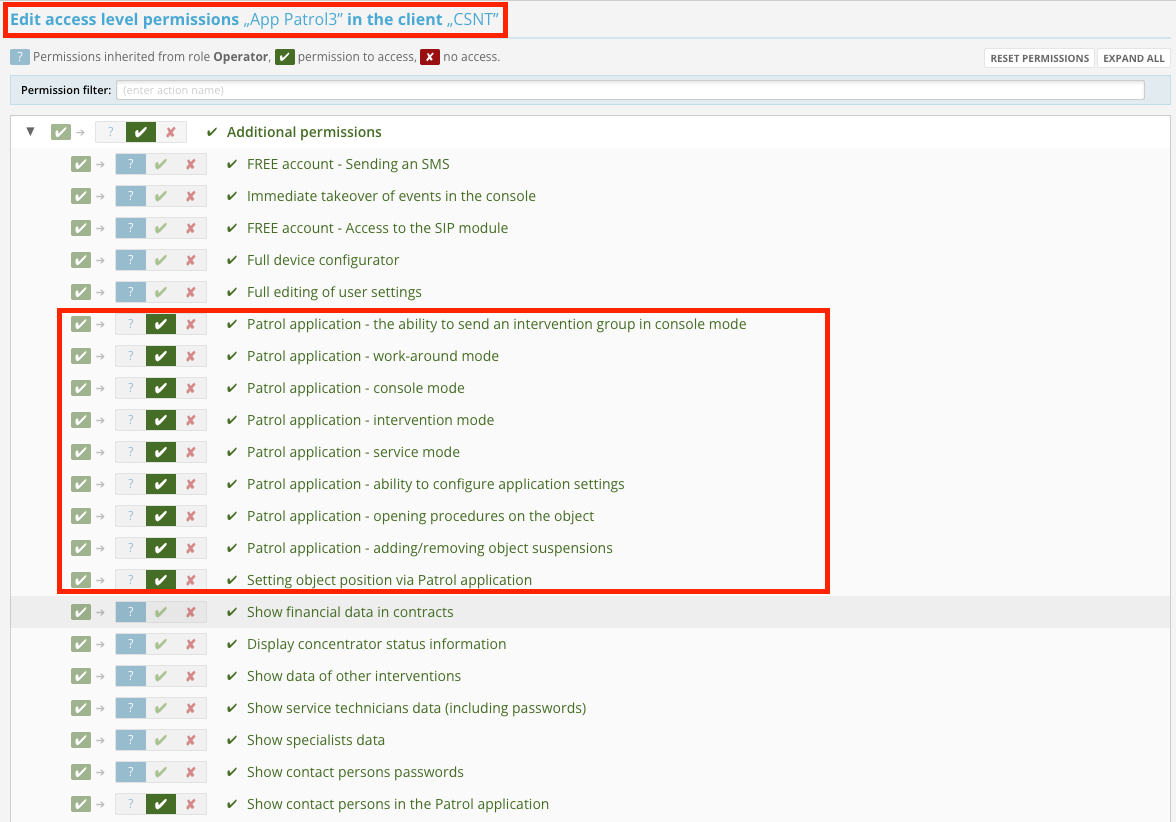
To confirm that the user has the required permissions, go to: ACCOUNT → USERS → USERS [link] -> find the user in the list and click the padlock icon on the right side.

Access level #
If more than one user is using the Patrol3 application, it is recommended to create a separate access level containing permissions equivalent to those described in the previous section. Once this access level is assigned to a user, they will automatically inherit all permissions defined within it. This solution simplifies access management and makes future modifications easier
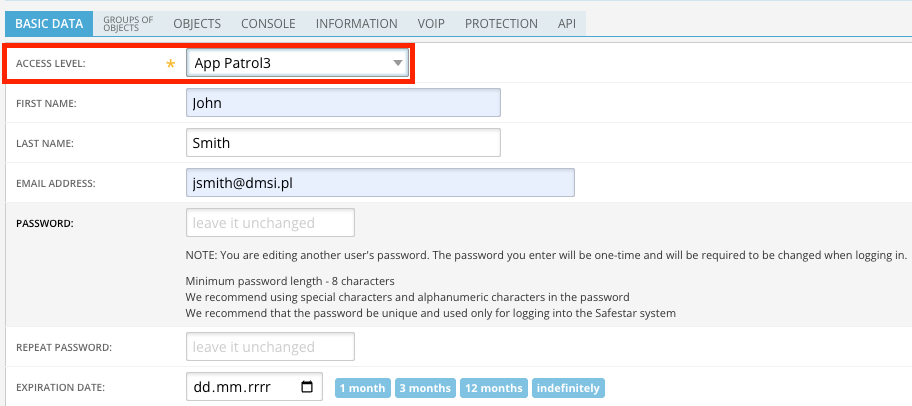
Creating a new access level #
To create a new access level, go to: ACCOUNT → USERS → ACCESS LEVELS [link] -> “Add Access Level” (left side of the browser window). Then enter a dedicated name for the access level, select the role from which the default permissions will be copied, and click the “Add” button.

NOTE! If the user should only have access to the Patrol3 application, all other permissions should be removed, leaving only those required to use the application.
Assigning a Safestar user to the mobile patrol #
To assign a user with access to the Patrol3 mobile application to an intervention group, go to: ACCOUNT → INTERVENTIONS, SPECIALISTS → INTERVENTIONS, SPECIALISTS. [link]
If the mobile response team has already been added to the system, open the edit view of the specific response team. Then, in the editing window, add a new user by clicking the plus icon in the top-right corner of the browser window.
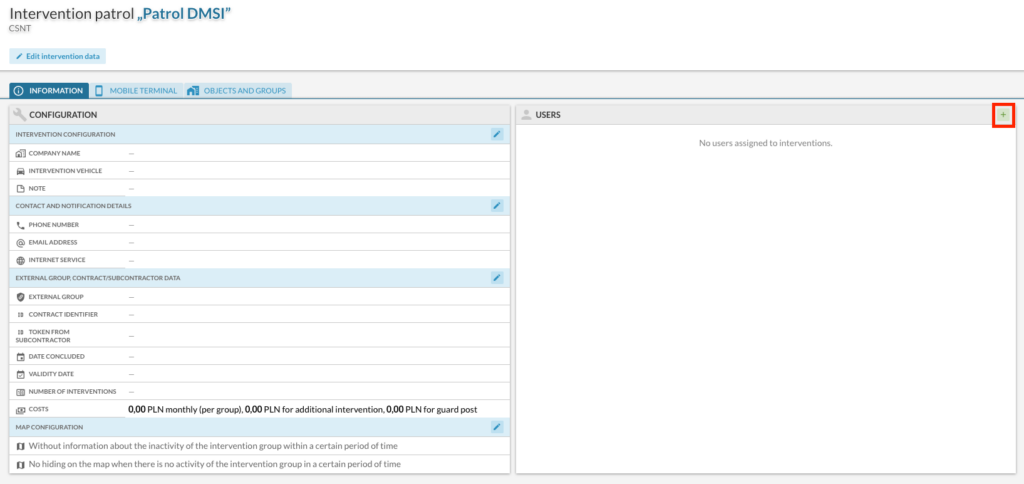
Next, in the opened window, select the Safestar user who will be able to log in as the specific mobile response team.

After completing this part of the configuration, the user should have access to most of the Patrol3 application functionalities
Creating a new patrol #
If the mobile patrol has not yet been added to the system, it must be created by clicking “Add Intervention” on the left side, selecting “Type: Mobile Patrol”, and entering a name.

Login #
Patrol3 application view and features (without logging In) #
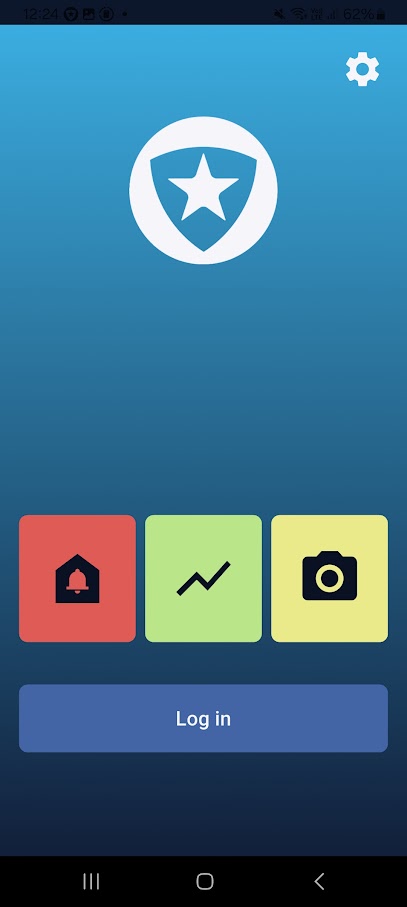
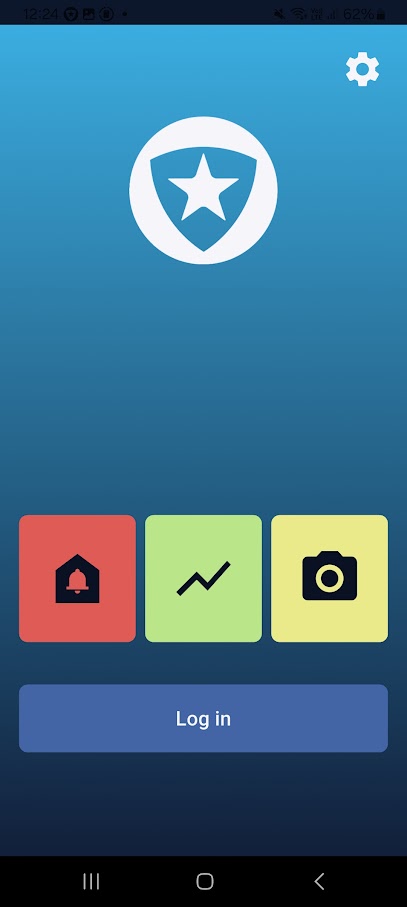
In its basic form, the application does not require user login, only activation in the system, provided that it has been assigned to an active object in Safestar. In this case, the following functions are available: point reading, panic button, and taking photos.
- 1a – View without logging In
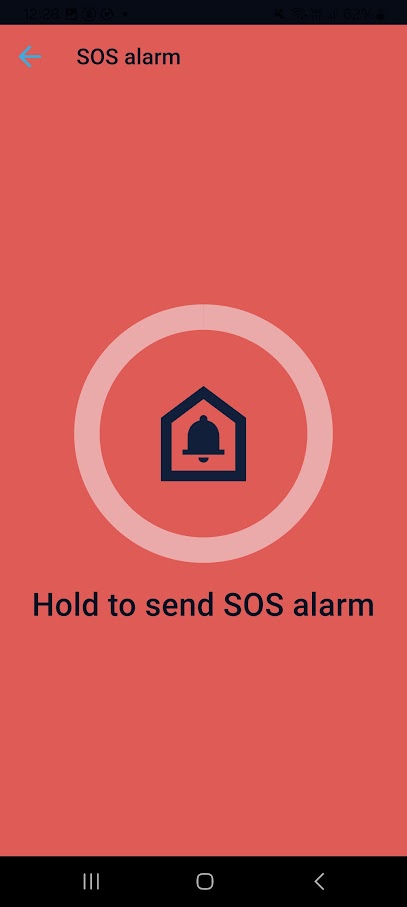
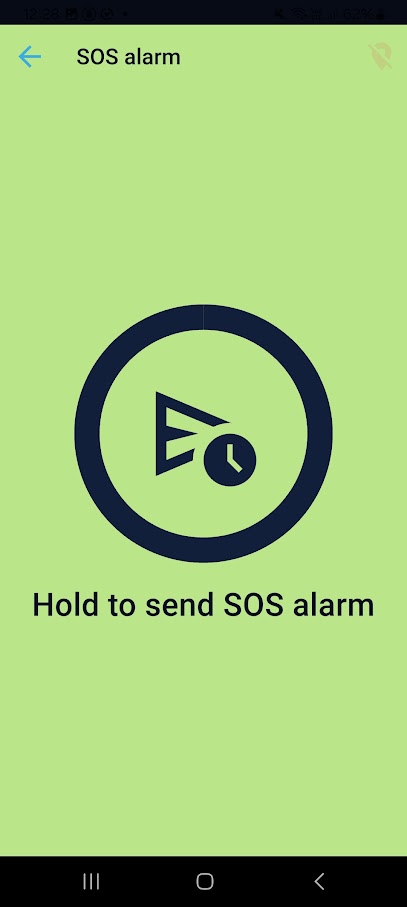
- 1b – SOS button view
- 1c – View after successfully pressing the SOS button
Application settings (without logging in) #
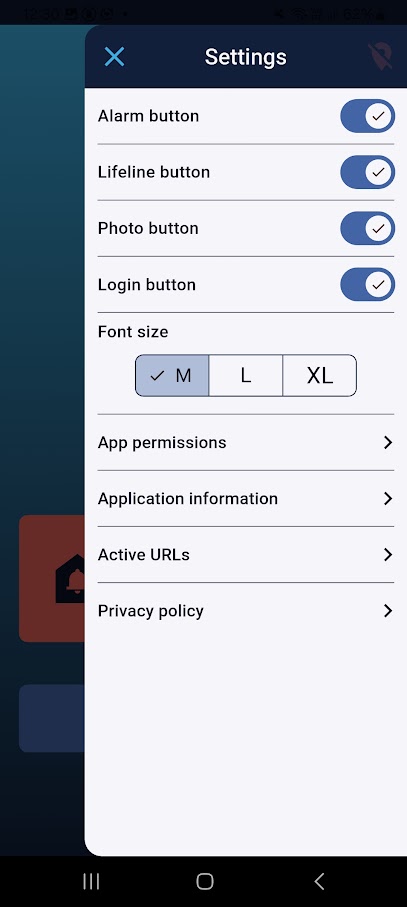
In the top-right corner of the Patrol3 application, there is a gear icon. After clicking it, the application settings will be displayed, which can be modified according to the needs of the company or the user.
Settings:
- Alarm button (option to disable the SOS button view)
- Lifeline button (option to disable the Lifeline button view)
- Photo button (option to disable the photo button view)
- Login button (option to disable the login button view)
- Font size (allows selecting the size of text displayed in the application: S/M/L/XL)
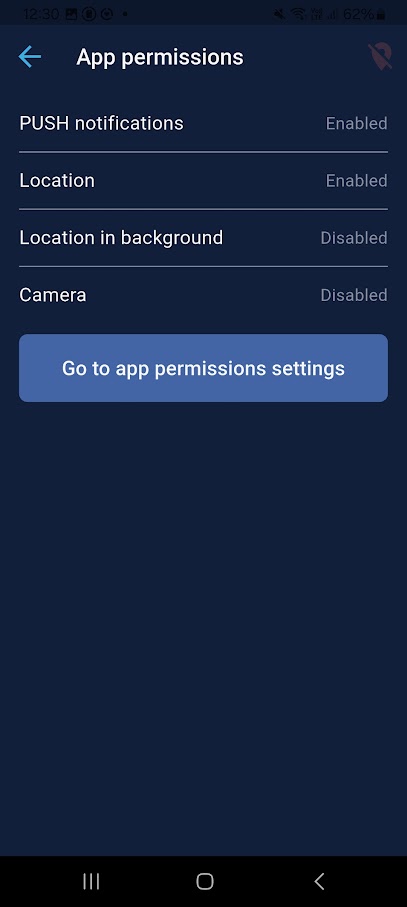
App permissions
- PUSH notifications
- Location
- Location in background
- Camera
- Go to app permissions settings (allows access to the operating system settings to modify access permissions for the Patrol3 application)
Application information (tab containing information about the currently installed Patrol3 application)
- Application version
- Application address (server to which the Patrol3 application is currently connected)
- Device ID (also visible from the Safestar system level)
- PUSH token (related to sending notifications)
Privacy policy (ink to the privacy policy of the application and the company)
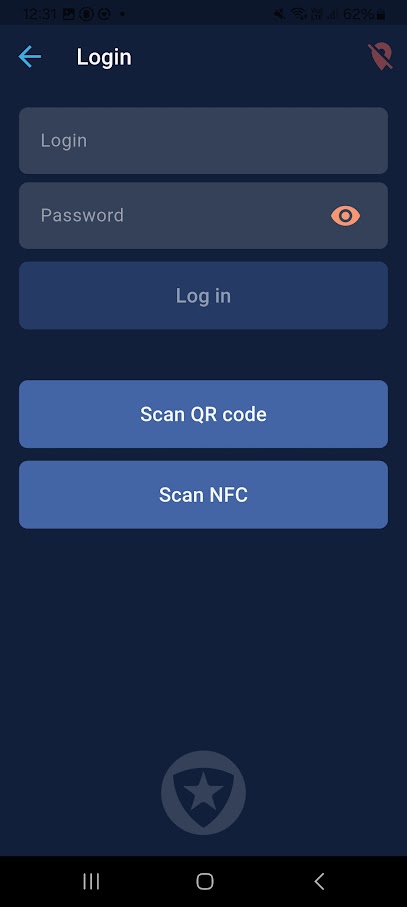
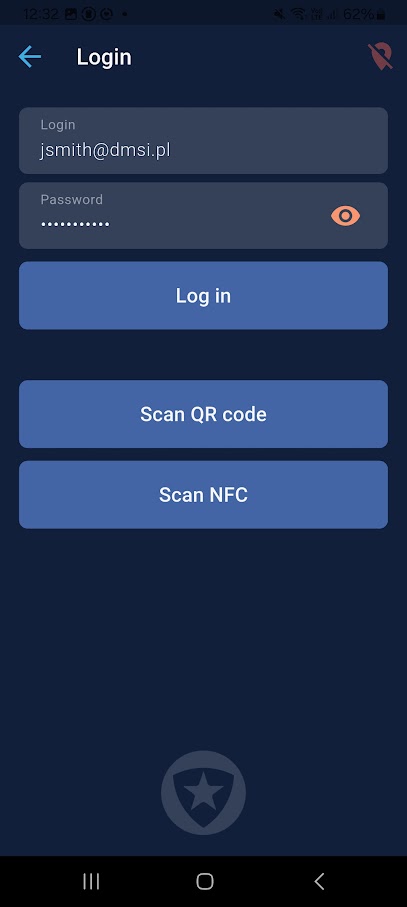
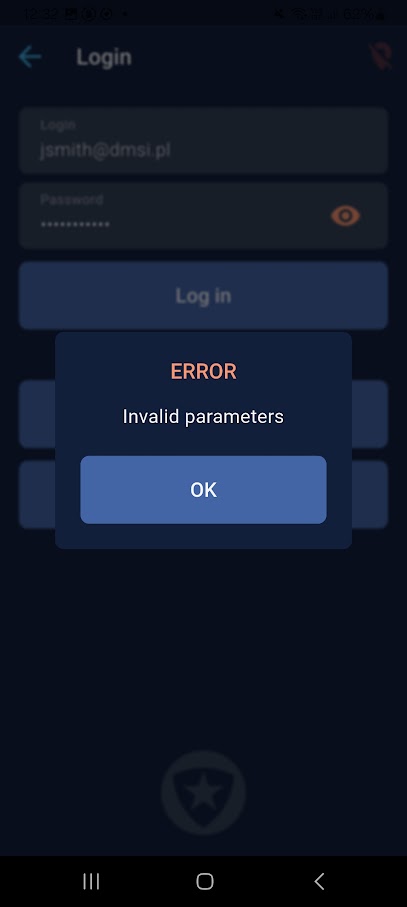
User login #
- 3a – Login location
- 3b – Entering login credentials
- 3c – Error in case of incorrect credentials
If the correct login credentials are entered, the following view will be displayed
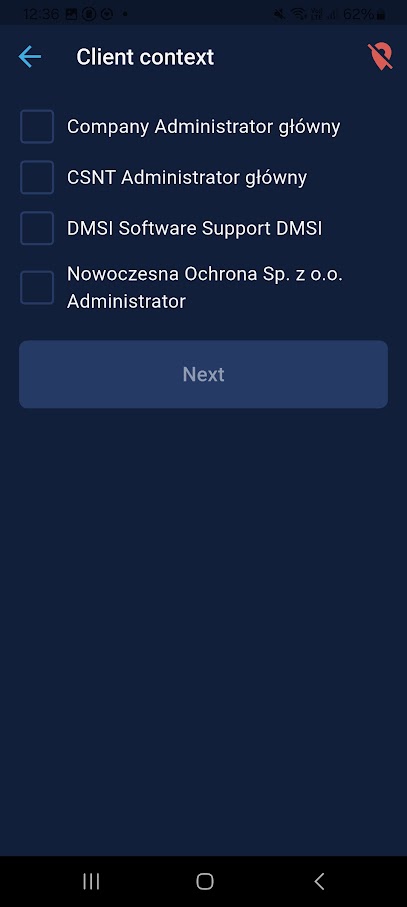
- 4a – Selecting an account if more than one is available
- 4b – Selecting the application Mode
Console mode #
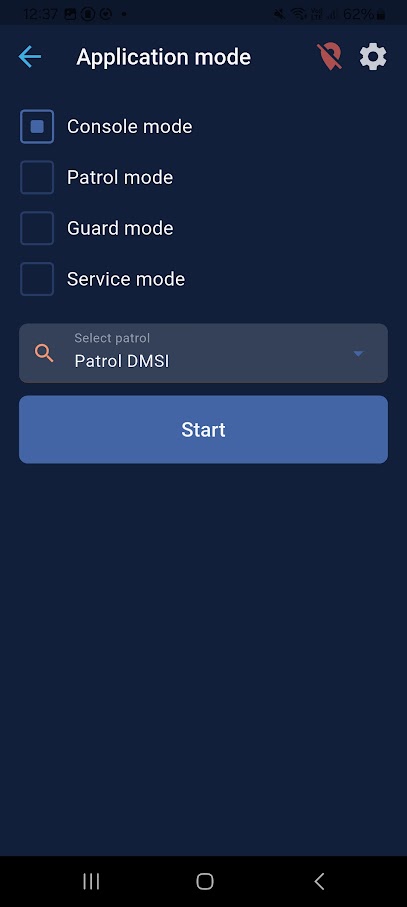
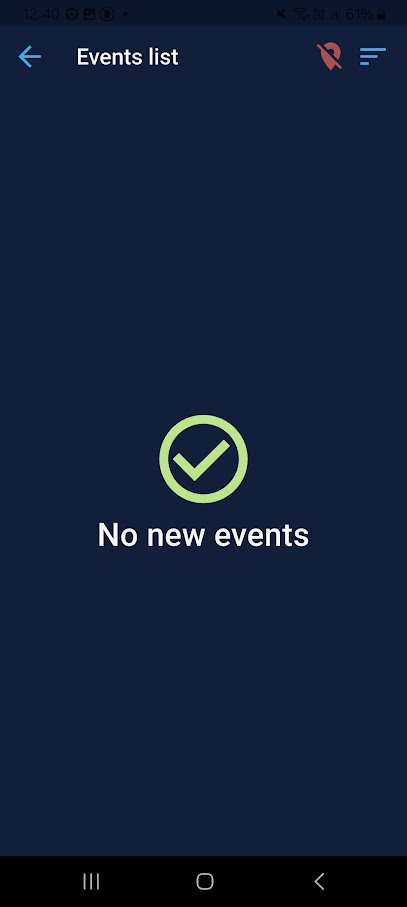
The Console Mode in the Patrol3 application corresponds to the Console section in the Safestar application. A logged-in user receives all new events generated in the system for the objects assigned to them. This mode allows users to manage the event list and monitor their progress. It was designed to enable direct event handling by a patrol, without the need for a monitoring station.
Main view #
- 5a – Selecting the Console mode
- 5b – Console mode view without active events
- 5c – Console mode view with active events
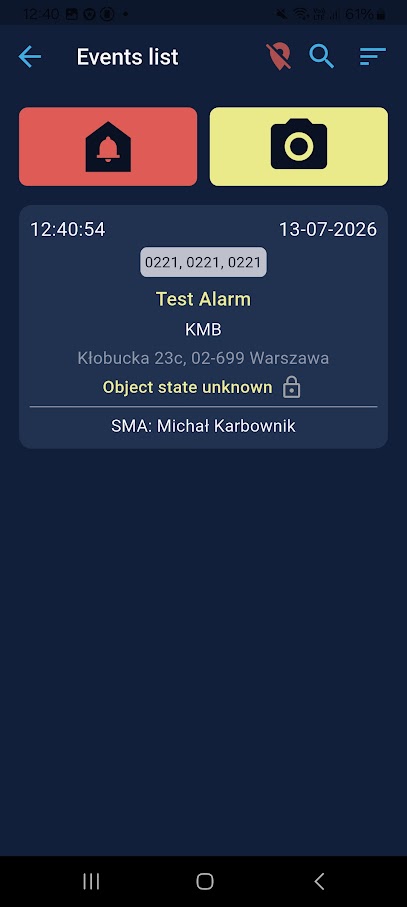
Object list and sorting #
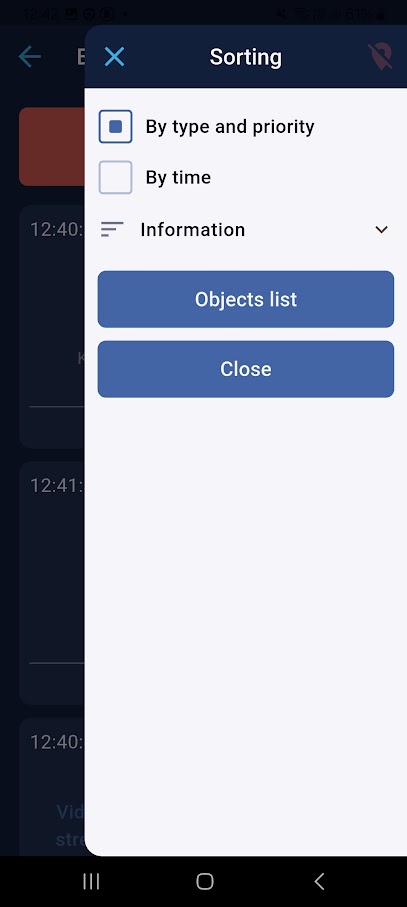
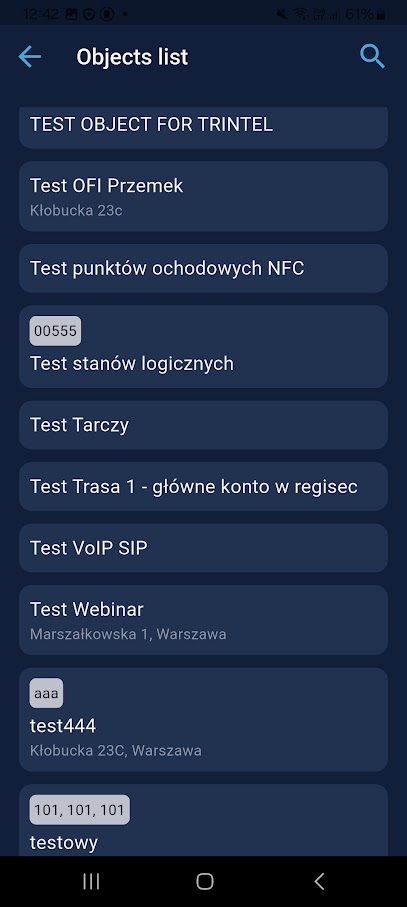
In the top-right corner of the screen, there is a menu icon (5b). After clicking it, the following options will be displayed: event sorting options, event information (6a), and the ability to view the list of objects (6b) assigned to the logged-in user.
Sorting
- By type and priority
- By time
Information
- My events
- Unassigned events
- Open events
- Completed events
Logged-in user
Objects list
Events #
Clicking a selected event in the list opens the event handling screen, from which further event management is available.
Actions #
The application records the entire event handling process, allowing the complete history of its execution to be reviewed and traced later directly in Safestar.
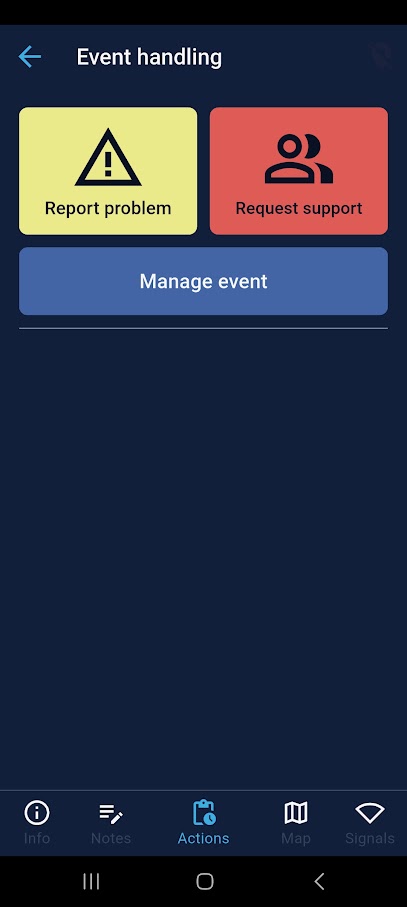
Features
- Request support
- Report problem button
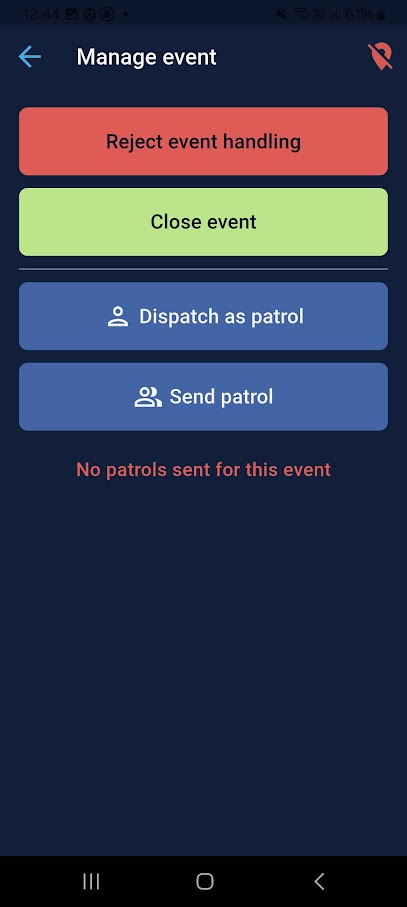
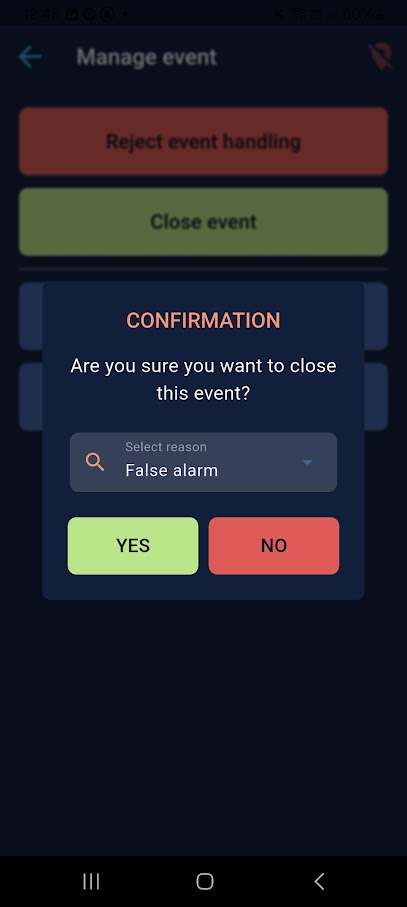
Manage event
- Reject event handling
- Close event
- Start as a mobile patrol (send yourself to an intervention)
- Send patrol (send diffrent mobile patrol)
- 7a – Event handling view
- 7b – Event management view
- 7c – Event closing view
Info #
The tab allows users to view data related to the object associated with the event. The user has access to images assigned to the object (e.g., a object plan), as well as a list of contact persons along with their details, such as call-off passwords and phone numbers. The application also enables users to make a direct phone call to a selected contact person.
Notes #
The tab allows users to view all notes saved as part of handling a specific event. The user can review previously added entries and add a new note. When creating a note, it is also possible to take and attach a photo directly from within the application.
Map #
The tab allows users to display the location of the object on a map. From this view, the user can also launch navigation to the specified location using the default navigation application available on the device (e.g., Google Maps).
Signals #
The tab allows users to view signals received from devices assigned to the object. The user can review recorded signals and sort them according to selected criteria, such as the date of occurrence and device type.
Patrol mode #
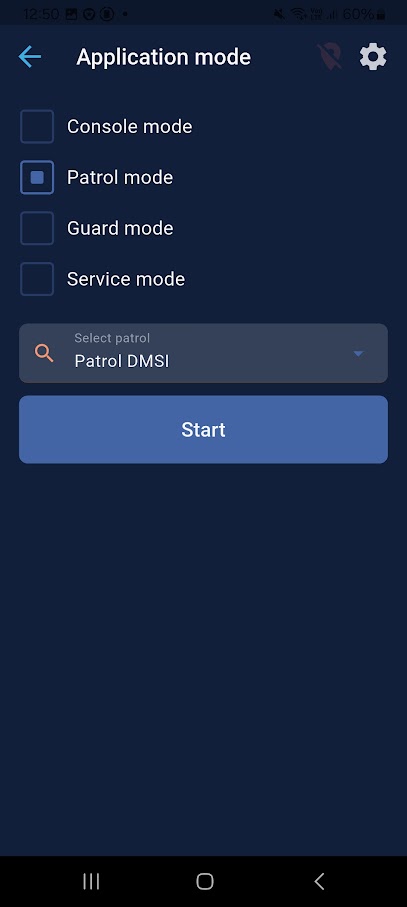
This mode allows the user to work as a selected mobile patrol. After logging in, the patrol receives events assigned by the monitoring station operator and can perform further actions related to their handling.
Main view #
- 8a – Application mode selection
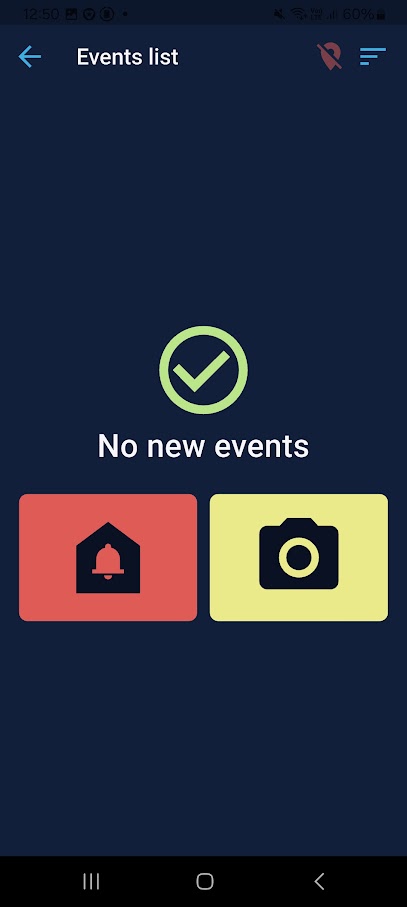
- 8b – Patrol mode view without active events
- 8c – Console view with active events
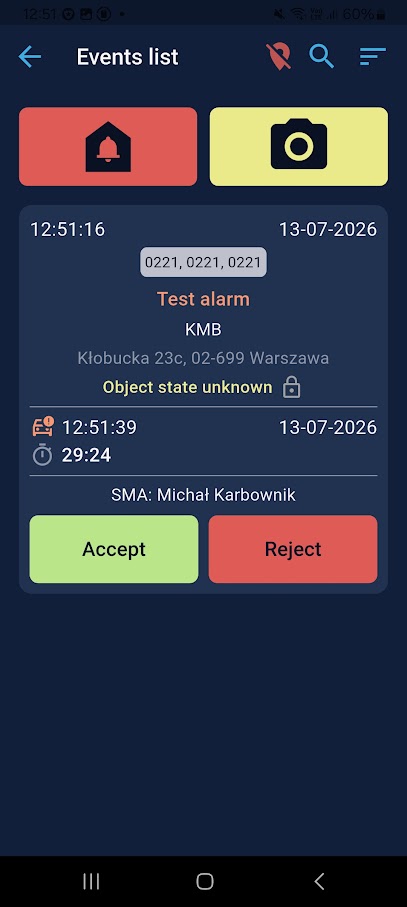
Features
- SOS button (red icon)
- Take photo button (yellow icon)
Object list and sorting #
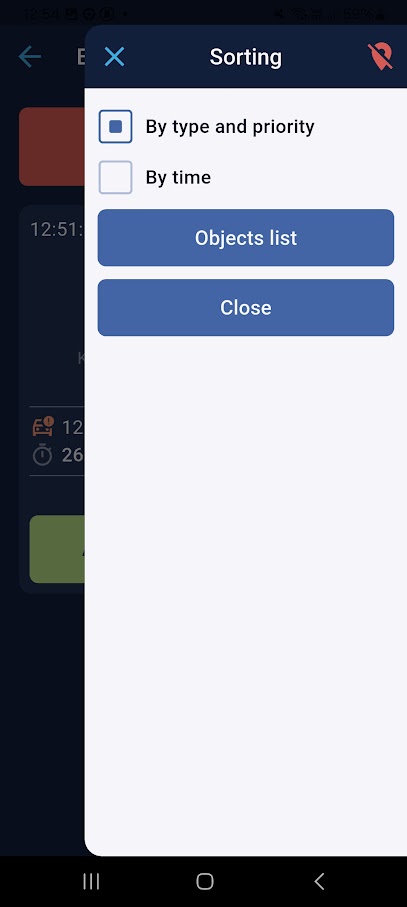
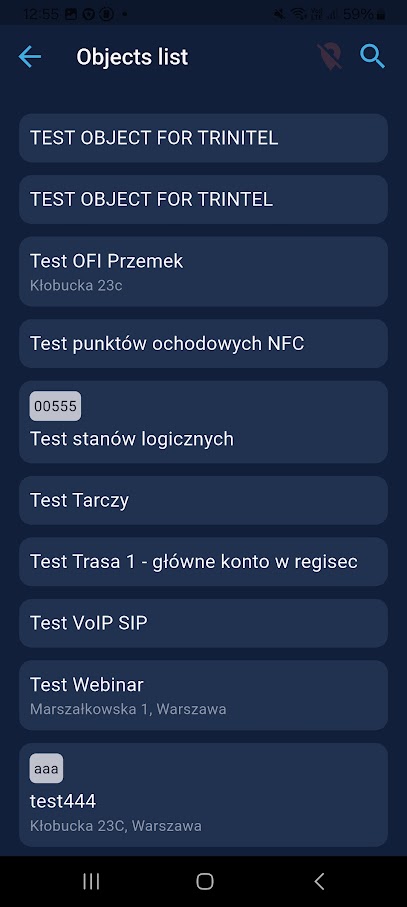
In the top-right corner of the screen, there is a menu icon. After clicking it, the following options will be displayed: event sorting options (9a) and the ability to view the list of objects (9b) assigned to the logged-in user.
Sorting
- Bye type and priority
- Bye time
Object list
Manage event #
Event handling in Patrol Mode is performed in the same way as in Console Mode. The available views and tabs, such as Handling, Info, Notes, Map, and Signals, provide the same range of functionalities as described in the section dedicated to Console Mode.
Guard mode #
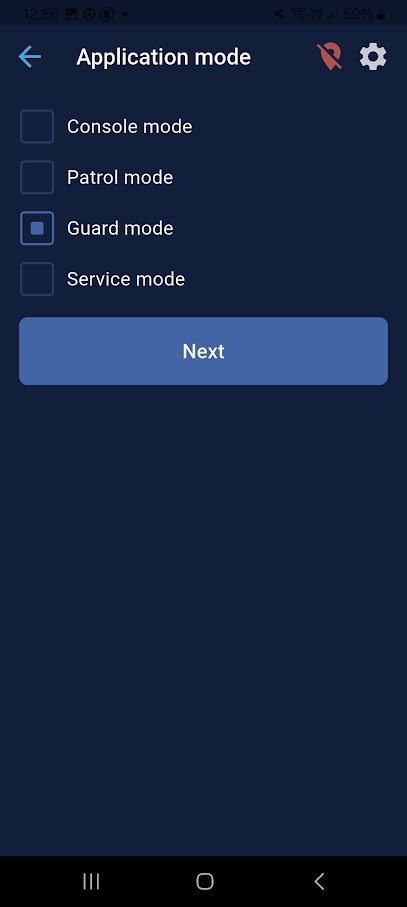
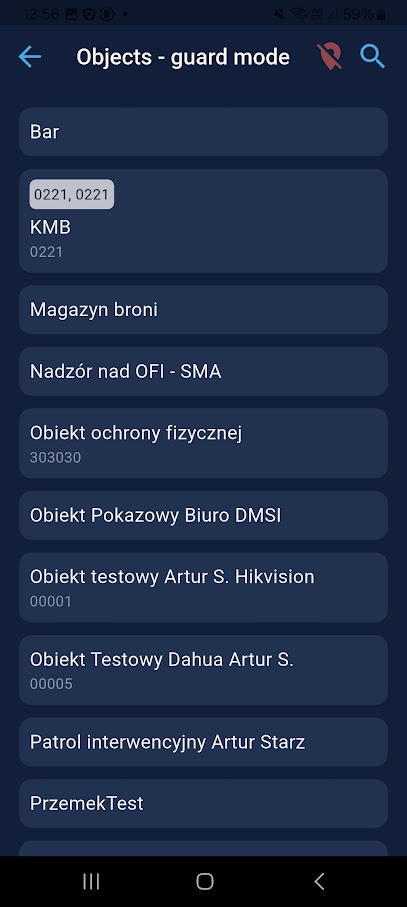
This mode is designed for physical security personnel. The user can view available routes, perform patrol tours, send photos, and complete specific tasks and procedures applicable to a given object. Initiated procedures are recorded in the Safestar application as events, enabling their archiving and later review of the complete history of performed activities. In situations requiring an immediate response, an SOS button is also available
NOTE: Description of the simplified version of this mode (without logging in) can be found in the following section: [link].
Main view #
- 10a – Application mode selection
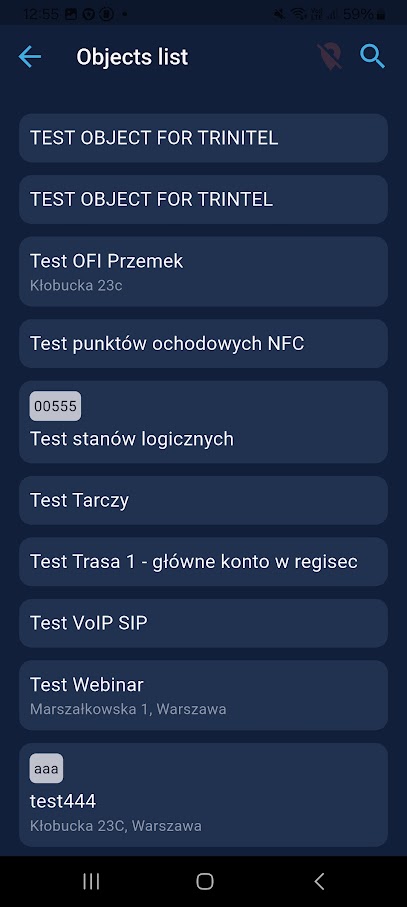
- 10b – Object list view
- 10c – Object view
Features
- Procedures
- NFC routes
- SOS button
- Take photo button
- Request a contact button
- Scan TAG
Service mode #
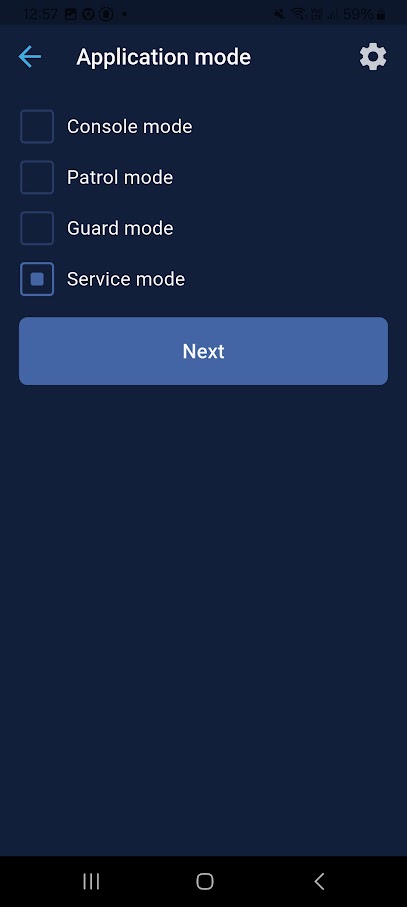
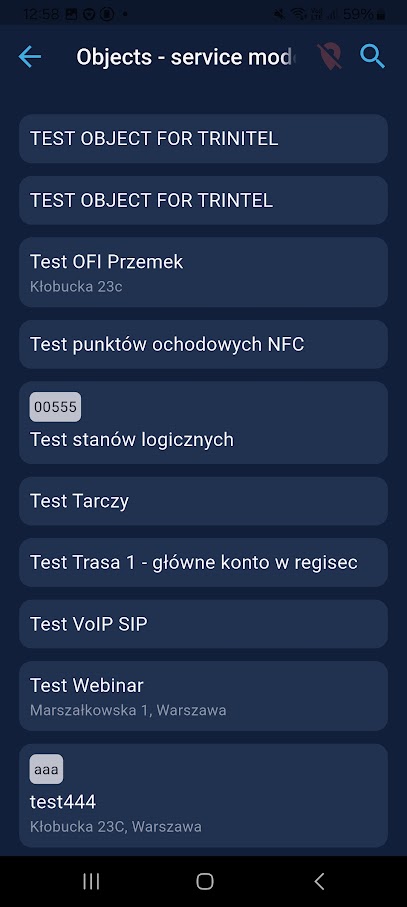
This mode allows the temporary suspension of an object to enable service personnel to carry out necessary work without the risk of generating unwanted alarms.
Main view #
- 11a – Application mode selection
- 11b – Object list view
- 11c – Object view
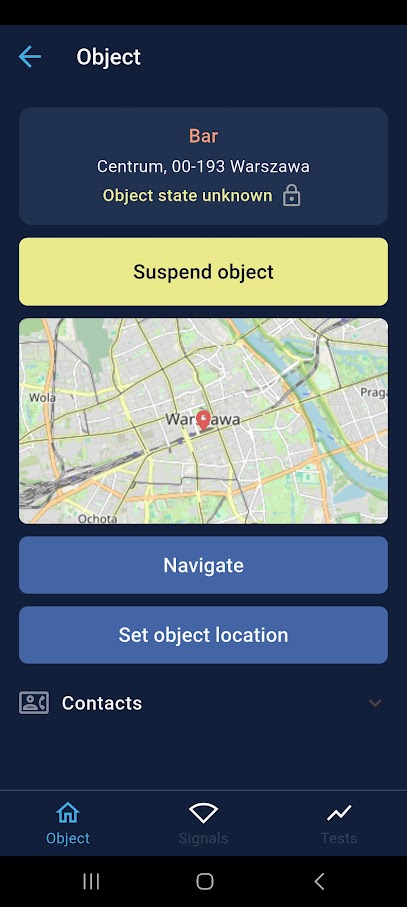
Features
- Suspend object (temporarily disables the generation of alarm events in Safestar)
- Navigate
Object #
This view provides access to basic information about the object status, contact person details, and the ability to make a direct phone call. It also includes the option to display the object location on a map and launch navigation to the selected destination.
Signals #
This view allows users to review signals generated by devices assigned to a given object. The user can monitor information regarding device operation and activity while performing service activities
Tests #
This view allows users to review test signals generated by devices assigned to the object. The feature enables verification of proper device operation and monitoring of transmitted test signals as part of performed service activities.


